How to Sign a Document Macro using OpenOffice/LibreOffice
Digital Signature attached to documents provides an extra level of security, by giving an assurance that the document is genuine as the provided Digital ID works as your digital mark which lets users know that content is not altered in any way or form.
If you haven’t done yet, go through this article and follow the steps to digitally sign a document macro using OpenOffice/LibreOffice with an email/document signing certificate.
Step-by-Step Guide to Sign a Document Macro using OpenOffice/LibreOffice
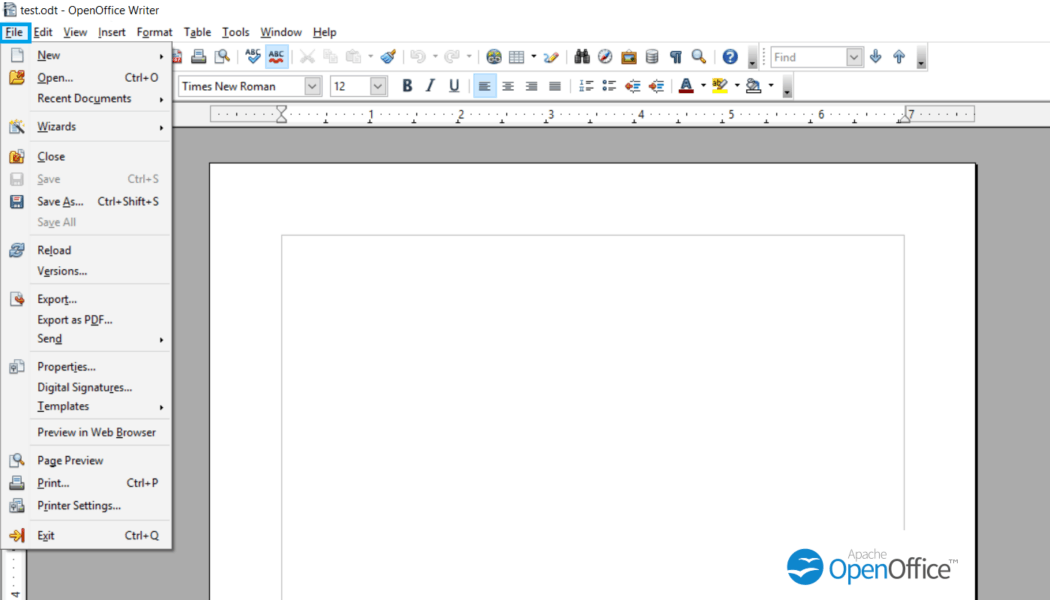
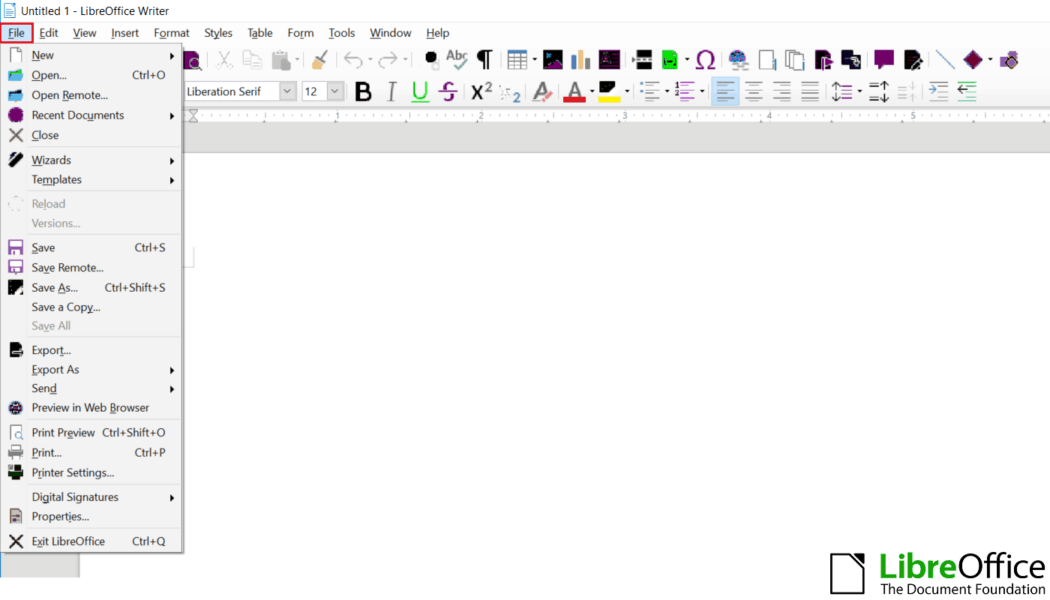
Step:1 Open the document and go to File
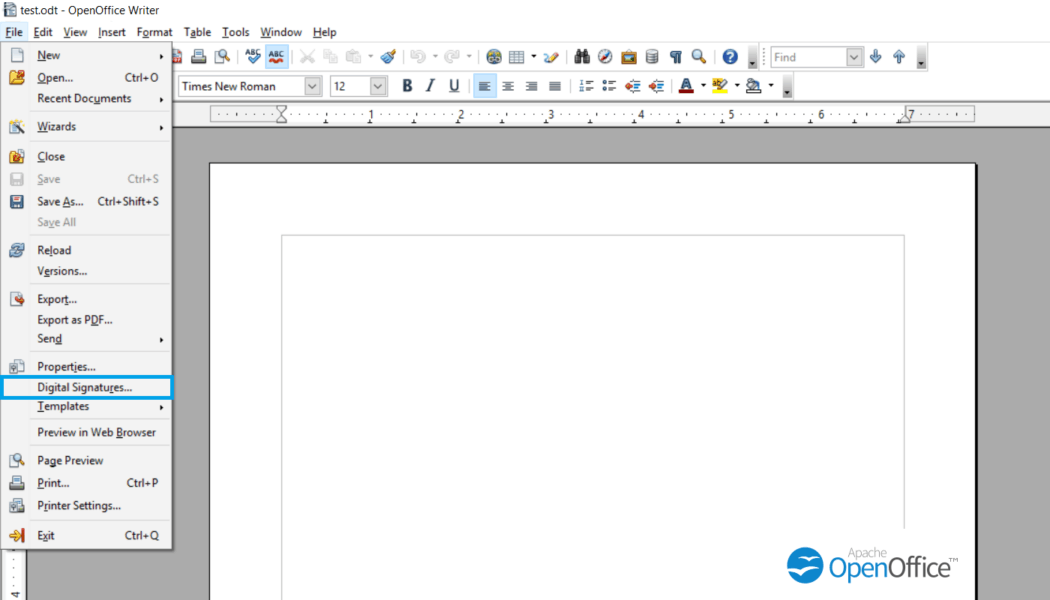
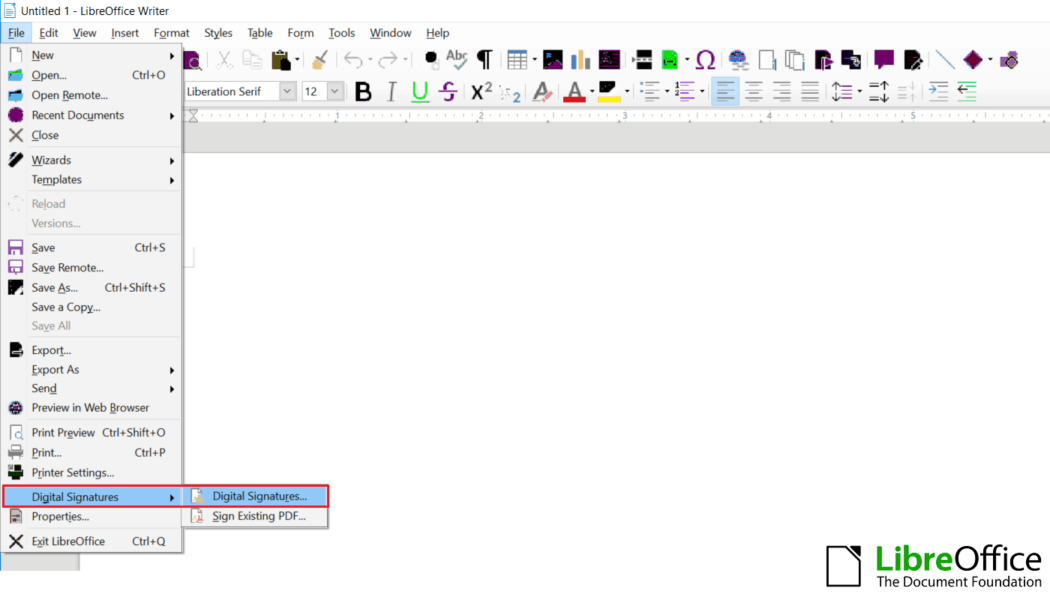
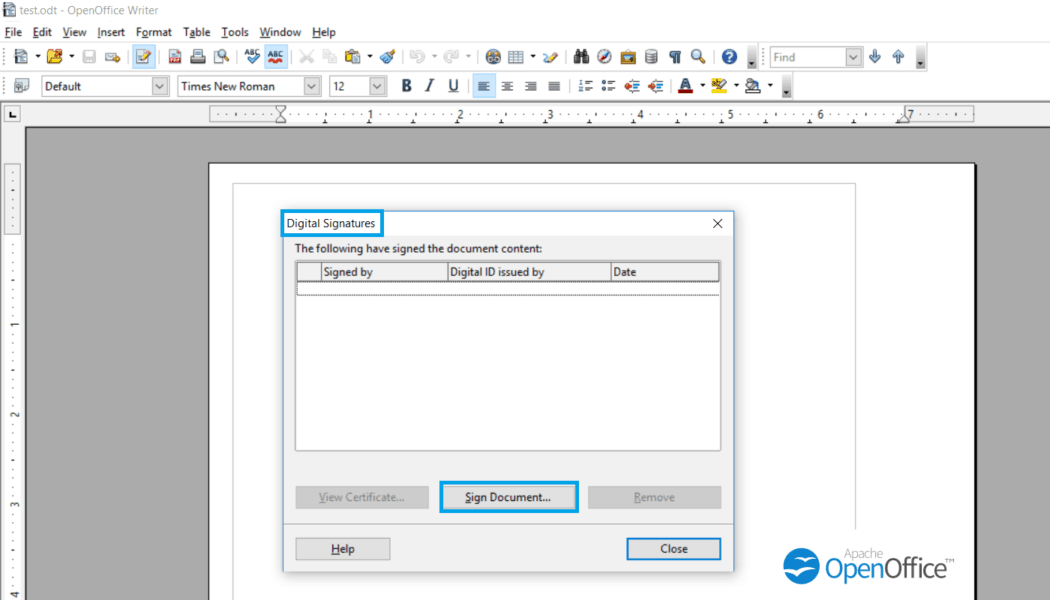
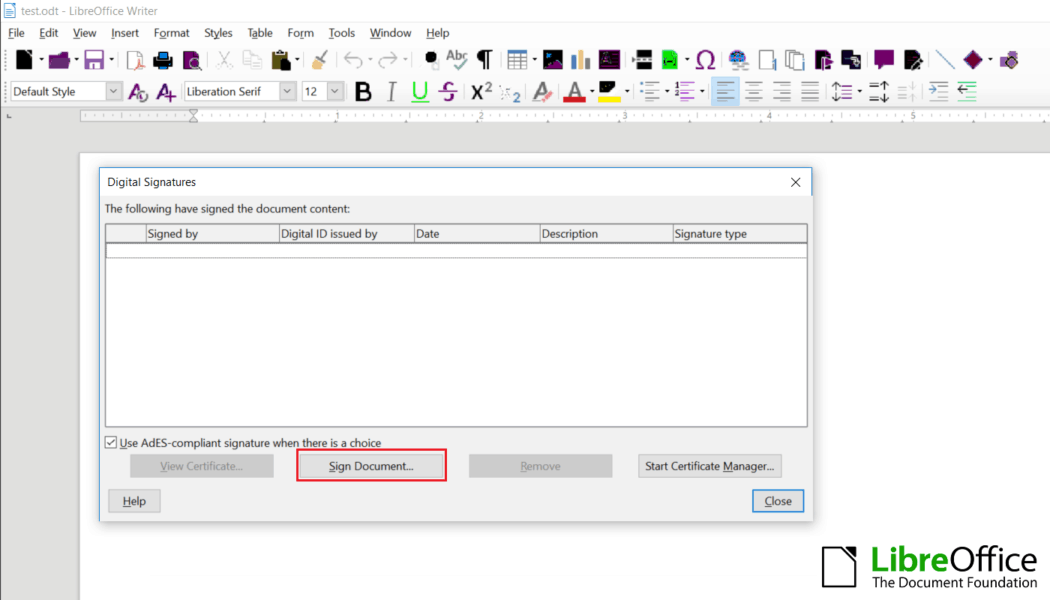
Step:2 Click on Digital Signatures.
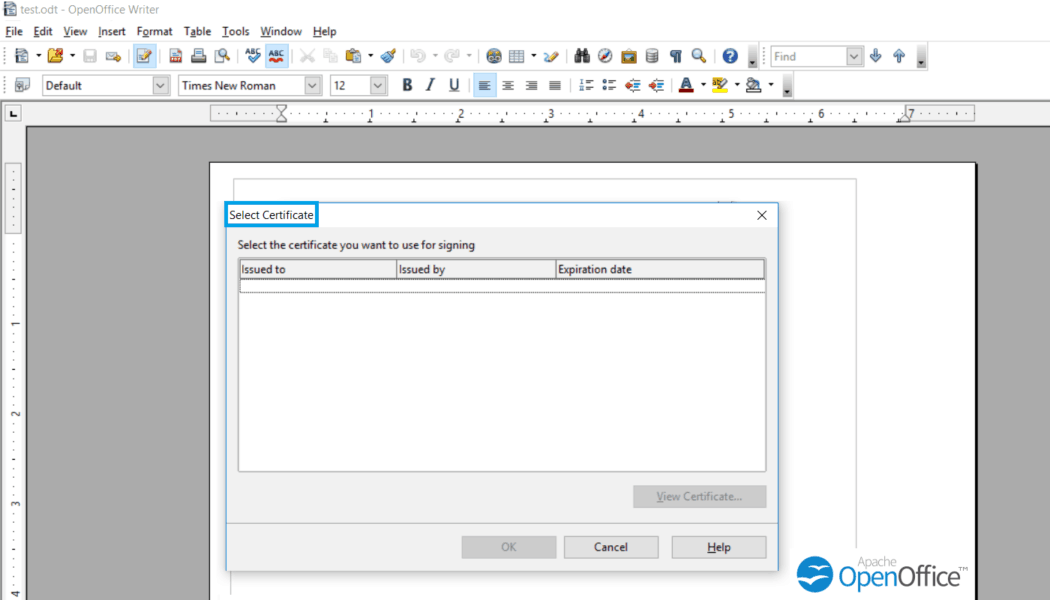
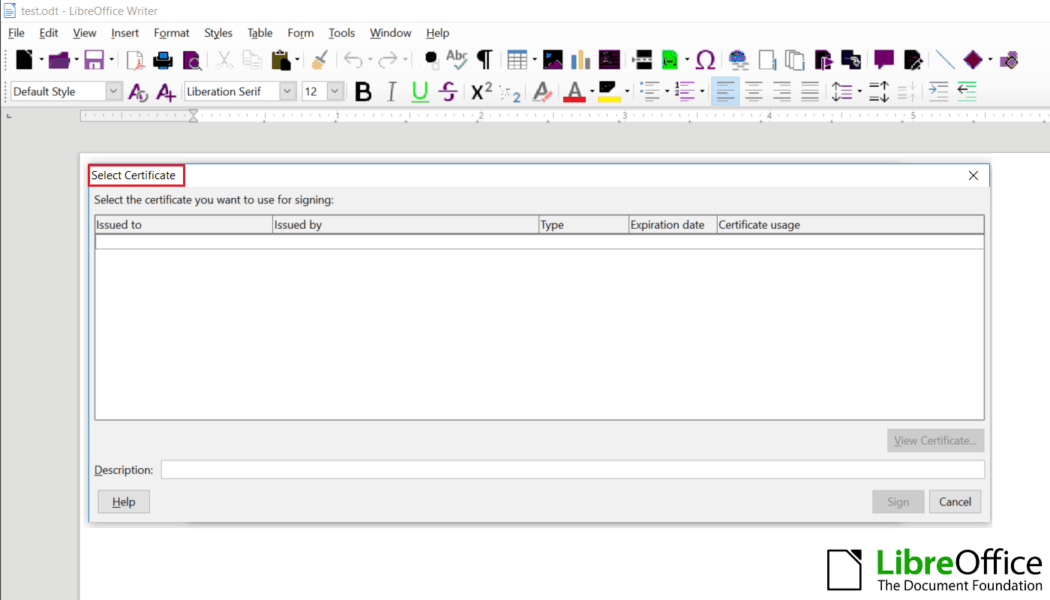
Step:3 A dialog box will open as shown below. Click on the Sign Document option. It will show the available certificates which you can use.
Step:4 Click Close.
Step:5 You will be asked to enter token password.
Step:6 Click Close.
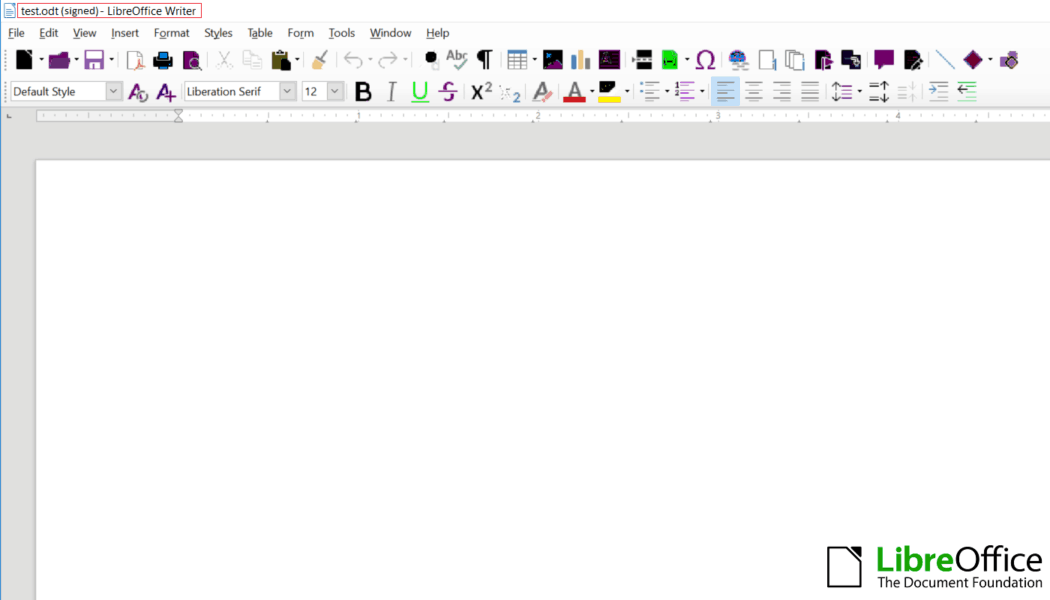
Step:7 Now the document is Signed. It will appear on the right side, next to the title bar.
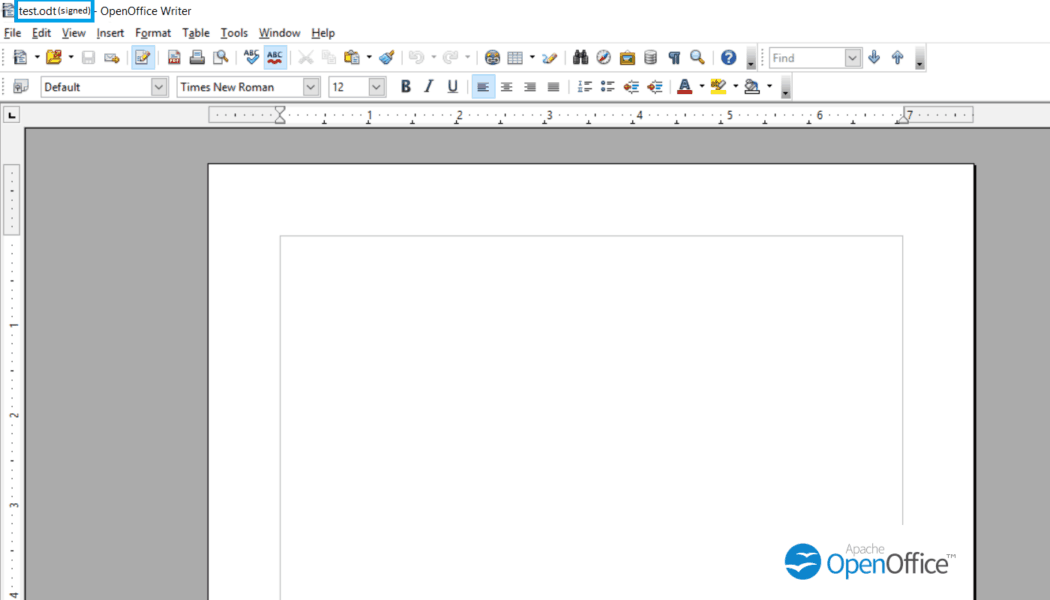
Note: Time the document was signed, and the validity of the certificate is recorded by the OpenOffice program. So, it lets the user know the certificate was valid when it was signed.
How to View Certificate Details of a Signed Document
Step:1 Open “File” and click on “View Signatures”. A column will appear on the right side with a drop-down options menu.
Step:2 Select Signature Details from the drop-down menu. It will show all the available certificates, which includes information such as validity period, Certificate Authority & Root, and a signer.