How to Install SSL Certificate on Cisco ASA 5510?
SSL Certificate Installation Instructions for Cisco ASA 5510
Initial Instructions
Please make sure you have completed the below checklist before starting the installation process.
- Buy or Renew SSL Certificate.
- Generate Certificate Signing Request (CSR).
- Save the CSR & Private Key file in a secure place on the system as well on the server directory.
- Submit the necessary documents as per your CA’s requirements.
Step 1: Download Certificate Files
After verification of your documents, the Certificate Authority will provide you SSL certificate bundle via email. This email contains a zip file which includes Primary, Intermediate, and Root certificate. Download and extract it on your Server.
Step 2: Install the Intermediate CA Certificate
- In ASDM, go to Configuration >> Device Management.
- Click on Certificate Management >> CA Certificate option.
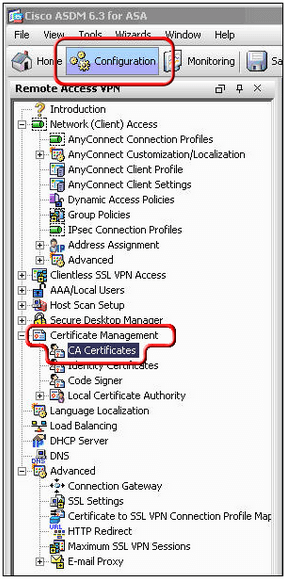
- Click on the Add

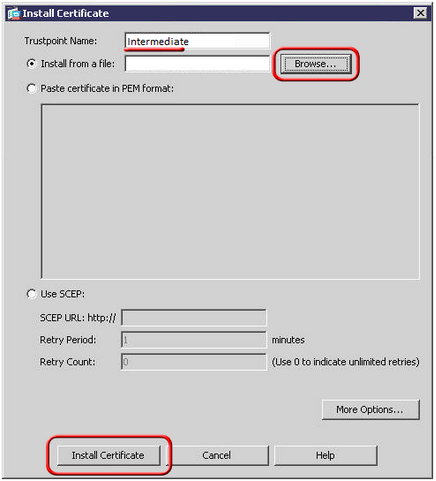
- Click on the Browse button and enter the location along with the path of the intermediate CA certificate file which you downloaded in the 1st
Alternative option
- Choose “Paste certificate in PEM Format”. (If you have any other format of the certificate file, convert it into .pem file using our SSL Converter Tool)
- Paste the intermediate certificate in the text field.
Note: You should copy and paste the intermediate CA certificate file (yourintermediate_ca.txt) in the text field. Make sure to paste everything including —–BEGIN CERTIFICATE—– ,—–END CERTIFICATE—–, header, and footer.
- Click Install Certificate
A dialog/popup box will appear. It confirms that the installation was successful.
Step 3: Install an SSL Certificate
- Click on Configuration >> Device Management.
- Click on Certificate Management > Identity Certificates.
- Choose the .pem formatted file which you created at the time of CSR generation.
Note: The Expiry Date should display Pending.
- Click on Install.
- Enter the location and path of your SSL certificate file.

Alternative option
- Choose Paste the certificate data in base-64 format
- Paste the certificate in the text field.
Note: You can copy and paste the intermediate CA certificate (yourSSLcert.txt) into the text field. Make sure to paste —–BEGIN CERTIFICATE—– and —–END CERTIFICATE—–, header, and footer.
- Click on Install Certificate
Step 4: Configure & Activate your SSL Certificate
- Go to Configuration > Device Management.
- Expand the Advanced option and then expand SSL Settings.

- Under Certificates, choose the interface that is used to terminate WebVPN sessions.
- Now, click on Edit.
- In the Certificate drop-down list, select the certificate that you installed earlier.
- Click on the OK

- Finally, Click on the Apply
Your new certificate should now be activated.
You can check the installation of your certificate with our online SSL Checker Tool – http://aboutssl.org/ssl-tools/ssl-checker.php
95%OFF
Comodo Positive SSL
78%OFF
RapidSSL Certificate
95%OFF