Installation of self-signed certificate in IIS
Once, you have created a self-signed certificate,
Steps to Install Self Sign SSL on IIS
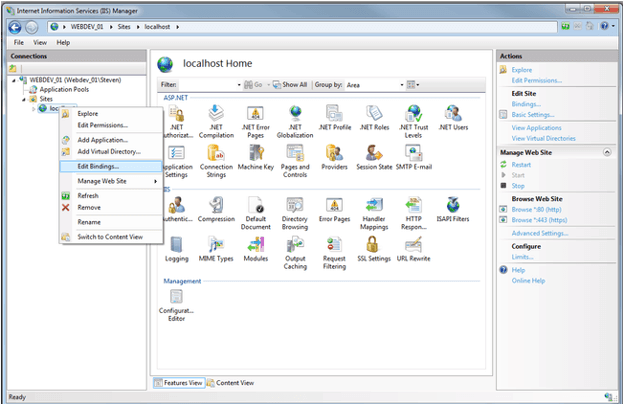
Step – 1. Go to the start menu & click on Administrative Tools > Internet Information Services (IIS) Manager

Step – 2. Click on the server name in the Connections column on the left and Double-click on Server Certificates

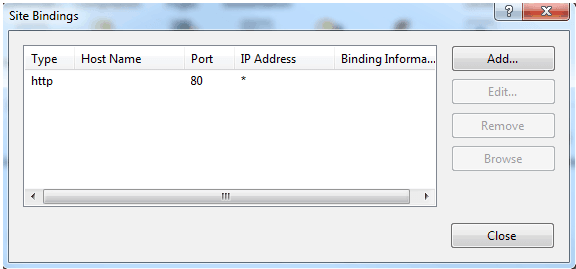
Step – 3. Right click on the site you want to install the cert on and select “Edit Bindings”.
Step – 4. Click on ‘Add’ button to create a new binding.
Step – 5. A new window will appear, where you’ll be asked to select ‘HTTPS’ and ‘the SSL certificate’ that you have created.
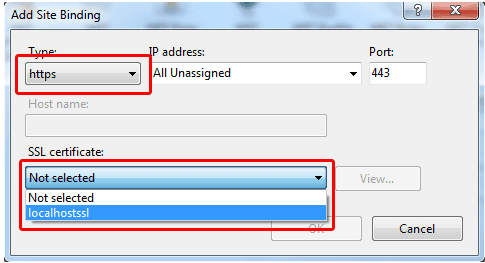
Save the changes and you will see a second site binding listing the https site.
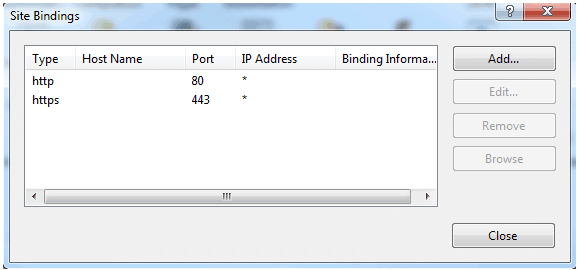
Step – 6. Check your SSL Certificate using https. If you have installed your self signed certificate than you will be asked to accept a certificate warning and to add an exception to view your site using SSL.
⏬ ⏬ Get rid of “⚠️ Not Secure” warning with these trusted SSL Certificates ⏬ ⏬
95%OFF
Comodo Positive SSL
78%OFF
RapidSSL Certificate
95%OFF